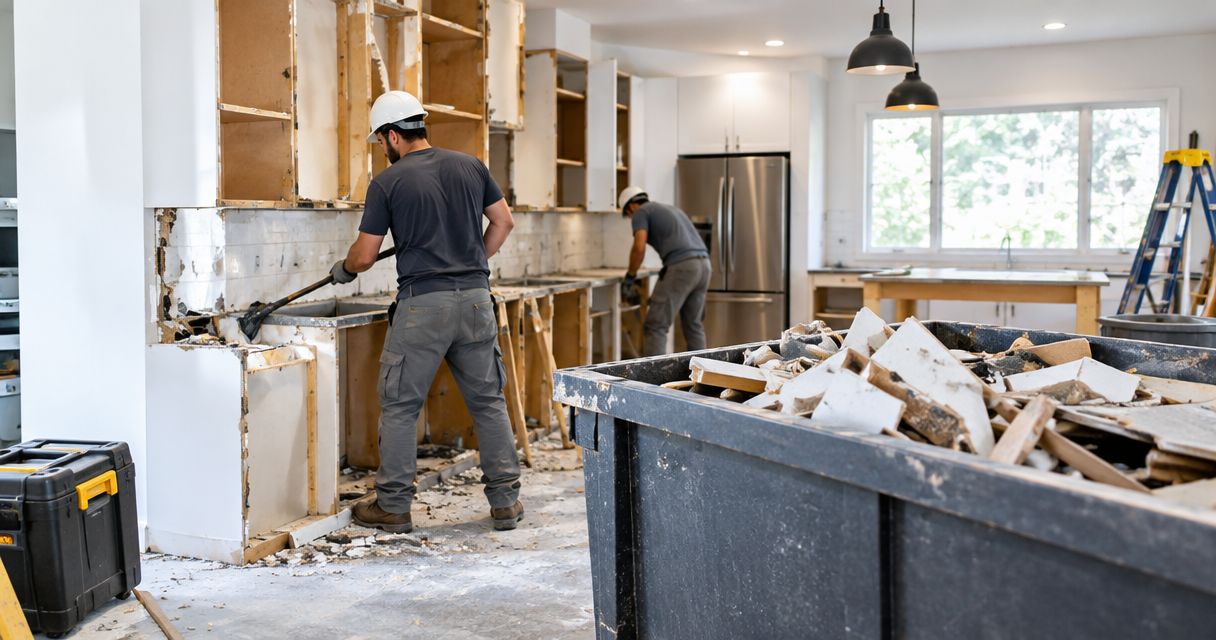
Instead of moving broken cabinets and tile out of the way every day, plan kitchen remodel demolition debris removal around the tear-out sequence, a protected loading route, and an agreed hauling scope. This 2026 workflow takes you from utility disconnects to a cleared work area without treating the debris pile as an afterthought.
- Kitchen remodel demolition debris removal starts with utility disconnects, a written scope, and a clear loading route.
- Idaho Junk Solutions suits Treasure Valley homeowners and contractors seeking load-priced demolition debris hauling.
- Confirm load pricing before work starts; separate demolition, hauling, and the final cleaning scope.
- Choose staged pickups when debris blocks the next trade; use one final haul when safe staging space exists.
Why this matters
A kitchen demolition plan is incomplete until someone owns the debris. Cabinets, flooring, countertops, and packaging need a destination that does not block the next contractor's work.
Idaho Junk Solutions is best for Treasure Valley homeowners and contractors who want load-priced demolition debris hauling with pricing confirmed before work starts. The locally owned company offers junk removal and demolition; your kitchen's exact tear-out and hauling scope still needs agreement before scheduling.
Start with Idaho Junk Solutions when arranging work in Boise, Meridian, Nampa, or Caldwell. For your 2026 remodel, define the handoff as a physical result: specified debris removed, retained materials untouched, and the agreed access route cleared.
A hauled-away pile is not the same as a construction-ready kitchen. Dust removal, exposed fasteners, utility conditions, and remaining demolition all need their own responsible person.
Before you start
- Authority and scope: Have the homeowner's approval or the property manager's written authorization. Identify who approves changes, what comes out, what stays, and which contractor controls demolition.
- Safe disconnects and access: Arrange qualified electrical, plumbing, and gas work where applicable. Confirm any permit or building requirements, then establish a loading route and vehicle access without blocking shared exits.
- The hidden-material gotcha: Stop work if demolition exposes suspect hazardous material. Do not break it up, sweep it into ordinary debris, or ask the hauling crew to take it; arrange assessment and any required work through an appropriate specialist.
Use a dated job sheet, such as a 2026 kitchen scope, rather than relying on a text thread full of changing instructions. Keep photos, removal decisions, and change approvals together so the person on site can act on the current plan.
Removal scope and contractor responsibilities
The first configuration unit is the job itself. Before anyone swings a tool, make the boundary between demolition, hauling, and cleanup clear enough that another person can follow it.
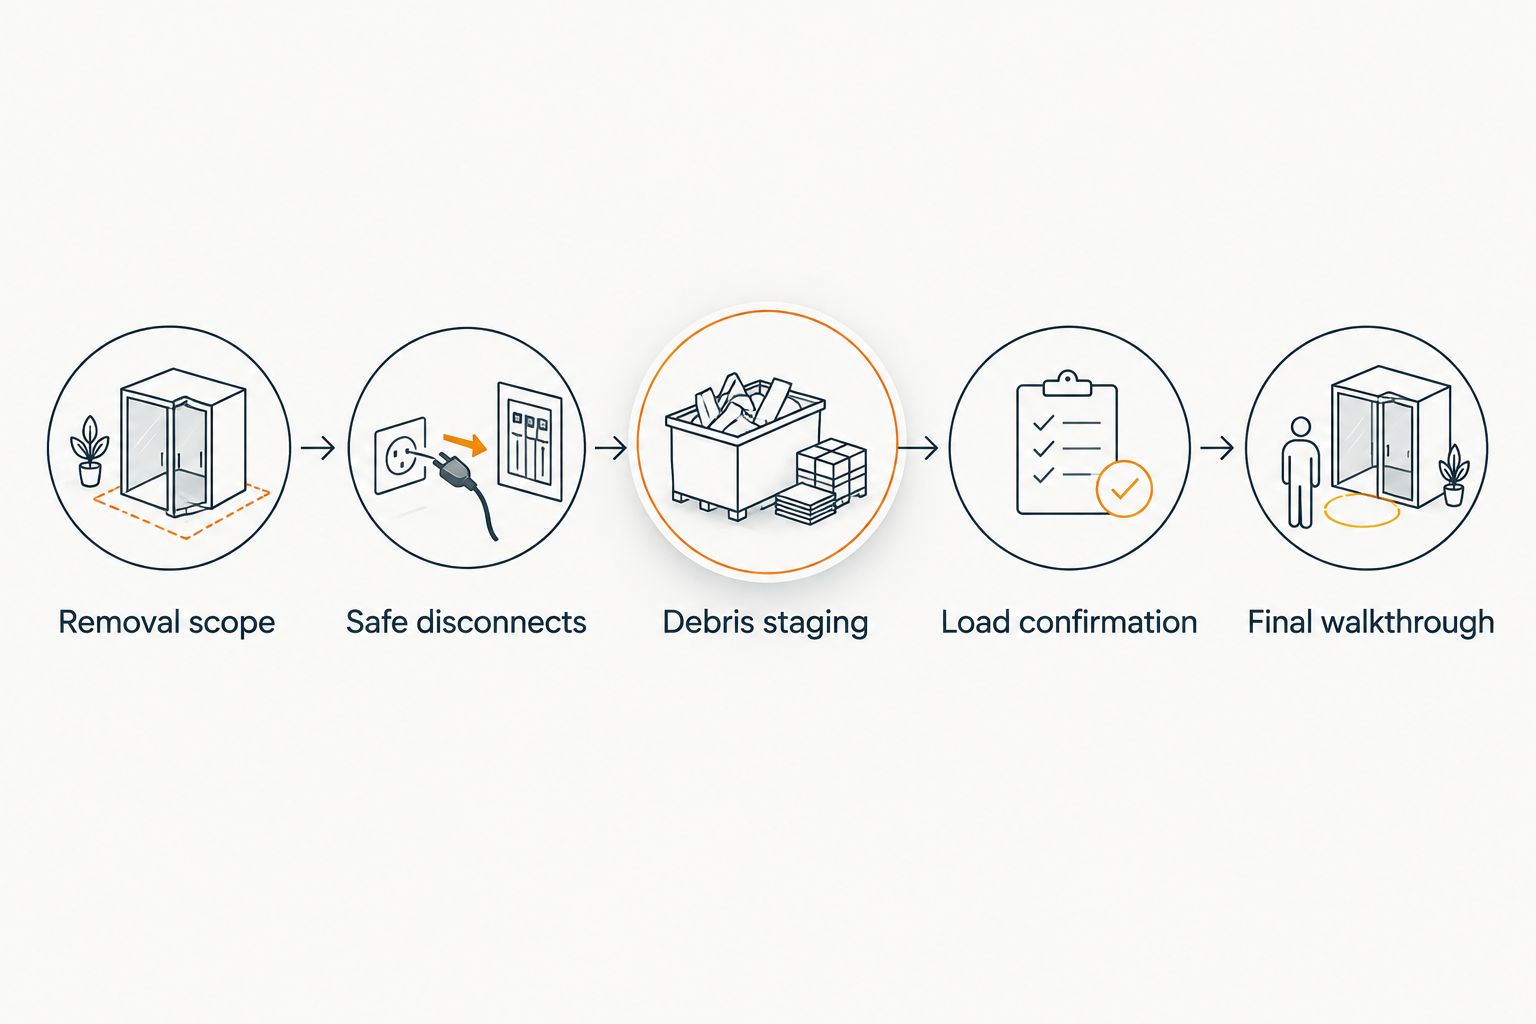
- List the removal items. Name cabinets, countertops, backsplash, flooring, appliances, and loose debris individually. Mark each item as remove, retain, or confirm; do not write only “gut kitchen.”
- Record what stays. Photograph retained flooring, doors, walls, appliances, and adjacent rooms. Mark retained items with an agreed method that will not damage their surfaces.
- Assign the disconnects. Record which qualified contractor makes each relevant utility safe and who confirms completion. An appliance that looks switched off is not proof that its connections are ready for removal.
- Separate tear-out from hauling. State whether the removal crew receives loose debris or performs agreed demolition as well. Ask for confirmation that the requested materials and tasks are included.
- Define the finish line. Specify whether the job includes loading loose debris, removing agreed fixtures, clearing the route, and any final sweeping. Assign remaining construction cleaning separately.
Expected result: Everyone can point to the same removal list and identify who owns each task. Nothing depends on a crew guessing what “everything” means.
For a larger renovation with several trades, use the demolition guide for general contractors to extend the scope beyond the kitchen. Keep kitchen-specific decisions on the job sheet rather than burying them in a whole-house plan.
Debris staging and load planning
A useful staging area keeps debris out of active work and gives the hauling crew a clear route. It is not a reason to pile sharp or heavy material wherever space opens up.
- Choose the staging area. Agree on a location that preserves exits, utility access, and the next trade's workspace. Confirm whether debris stays inside, moves outside, or gets loaded as demolition progresses.
- Protect the route. Identify retained floors, corners, thresholds, and doors along the path. Agree on protection and who installs it before removal starts.
- Describe the material mix. Send photographs showing bulky cabinets, dense tile, countertop sections, and appliances separately. Volume alone does not describe the work needed to move them safely.
- Estimate without forcing a load size. Use the company's 14-yard trailer reference as a volume guide, not a promise that every kitchen fits one load. Flag dense material and awkward pieces for review rather than treating all debris alike.
- Confirm load pricing. Idaho Junk Solutions prices hauling by the load, with pricing confirmed before work starts. Agree on the included work and how any added material or changed demolition scope will be approved.
Expected result: The hauling plan reflects both the amount of debris and the actual removal work. The crew knows what is waiting, and you know what the agreed scope covers.
Pickup timing and site handoff
Schedule the haul against the work sequence, not just an open calendar slot. The useful question is whether debris must leave before the next task can start.
- Choose the pickup trigger. Write a clear milestone, such as approved cabinet tear-out completed and debris staged. Do not schedule against an assumed finish time that the demolition contractor has not confirmed.
- Confirm arrival details. Arrange the one-hour arrival window and ETA updates with Idaho Junk Solutions. Keep a named contact reachable to handle access and scope questions.
- Check the site before arrival. Confirm the route remains open, retained items are marked, and no unapproved material has joined the pile. Tell the crew about changes before loading begins.
- Approve the agreed work. Review load pricing and the included removal tasks before work starts. If the pile has changed, settle the revised scope before proceeding.
- Complete the final walkthrough. Check the kitchen, staging area, and loading route against the removal list. Record unfinished demolition or cleaning separately instead of calling the room ready by default.
Expected result: The agreed debris is gone, retained items remain, and the next contractor knows exactly what condition the site is in. Do not release the next trade based only on a pickup booking; confirm the handoff happened.
Repeat pickups during a phased kitchen remodel
For a phased 2026 remodel, repeat the same approval process whenever the debris scope changes. A cabinet haul does not automatically include flooring removed later, and the original photographs stop being useful once the pile changes.
Choose between staged hauling and an end-of-demolition haul based on access and sequencing. Neither arrangement wins every job.
| Pickup arrangement | Best for | Main advantage | Main drawback |
|---|---|---|---|
| Staged pickups | Kitchens where debris blocks access or the next trade | Clears work areas as demolition progresses | Requires repeated scheduling and scope confirmation |
| End-of-demolition haul | Projects with a safe, agreed staging area | Consolidates removal into one coordinated handoff | Debris remains on site until tear-out is finished |
Choose staged pickups when the pile prevents the next planned task. Choose an end-of-demolition haul only when keeping debris on site does not compromise access or the agreed work sequence.
For each repeat pickup, update the material list, photographs, staging location, and approving contact. Confirm the next load's scope before work starts rather than assuming the previous agreement carries over unchanged.
The benefit of load-priced hauling is a defined hauling scope without managing the removal yourself. The limitation is that it does not replace utility work, hazardous-material assessment, permit decisions, or a separate construction-cleaning agreement.
Troubleshooting
The pile grew after the original walkthrough
Pause additional loading long enough to identify the added material. Send updated photographs and confirm the revised load and work scope before proceeding; do not mix new work into an old approval.
The next trade arrives before debris is removed
Check which area the trade actually needs, then revise the hauling sequence with both contractors. Keep the work area closed if debris prevents safe access rather than asking workers to step over the pile.
An appliance is still connected
Leave the appliance in place and contact the appropriate qualified contractor. Hauling arrangements do not substitute for electrical, plumbing, or gas disconnection, and an unresolved connection changes the removal plan.
Suspect material appears behind cabinets or flooring
Stop disturbing the affected material and keep it out of the ordinary debris stream. Arrange appropriate assessment before demolition resumes; Idaho Junk Solutions does not offer hazardous-material pickup, handling, removal, or disposal.
The debris is gone, but the room is not ready
Compare the result with the written finish line. Assign remaining dust cleaning, exposed fasteners, unfinished demolition, and utility checks to the responsible contractor instead of treating hauling as approval for installation.
Customize your workflow
Build your 2026 kitchen plan around the property, not a generic tear-out checklist. An occupied home needs a usable route around the work; a managed rental also needs clear authorization and a documented handoff.
- Occupied home: Agree on household access, retained belongings, and where debris can wait without taking over adjoining rooms.
- Rental property: Name the person authorized to approve removal and changes. Separate tenant belongings from renovation debris before work begins.
- Whole-property renovation: Keep kitchen debris identifiable until the hauling scope includes the other rooms. Adding a garage or shed cleanout changes the job.
- Demolition plus hauling: Confirm both tasks explicitly. Owner involvement is something to ask about, not an assumption that the owner attends every job.
Send a usable request: property location, removal list, photos, disconnect status, loading route, planned demolition milestone, and approving contact. That gives the discussion a concrete starting point without pretending a photograph settles every site condition.
Plan your kitchen debris haul
Discuss the removal scope, load pricing, and arrival arrangements before work starts.
FAQ
What's the best way to plan kitchen remodel demolition debris removal?
Plan the removal scope, safe disconnects, staging area, and pickup trigger before demolition starts. Confirm who performs tear-out, who hauls the debris, and what condition the kitchen must be in at handoff.
Should I book debris removal before the kitchen demolition starts?
Arrange the hauling plan before demolition starts, then confirm pickup against an agreed milestone. This keeps the booking tied to actual progress rather than an unconfirmed completion time.
Is staged hauling better than one final kitchen debris pickup?
Staged hauling is better when accumulated debris blocks access or the next trade. One final haul fits projects with safe staging space and a demolition sequence that allows debris to remain until tear-out ends.
How does load pricing work for kitchen demolition debris?
Load pricing bases the hauling scope on the agreed load rather than an item-by-item removal list alone. Confirm the material mix, included labor, demolition tasks, and pricing before work starts.
Do appliances need to be disconnected before removal?
Connected appliances need the appropriate safe disconnection before removal. Arrange qualified electrical, plumbing, or gas work as applicable, and confirm completion with the person responsible.
Can hazardous materials go in the kitchen demolition debris pile?
No. Keep suspected hazardous materials out of ordinary demolition debris, stop disturbing the affected area, and arrange appropriate assessment and specialist work.
Does debris removal include a kitchen that is ready for installation?
Debris removal does not automatically include installation readiness. Define final cleaning, remaining demolition, fastener removal, and utility checks separately so the next contractor receives an accurate handoff.
One last thing
Take the final photos before the next delivery arrives. For your 2026 project record, photograph the cleared kitchen, staging area, and loading route while the hauling handoff is still visible.
Those photos establish what was actually cleared. Once new cabinets, flooring, and packaging arrive, the site becomes a different job with a different debris scope.